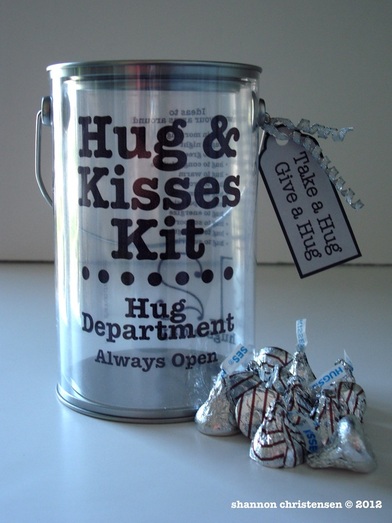
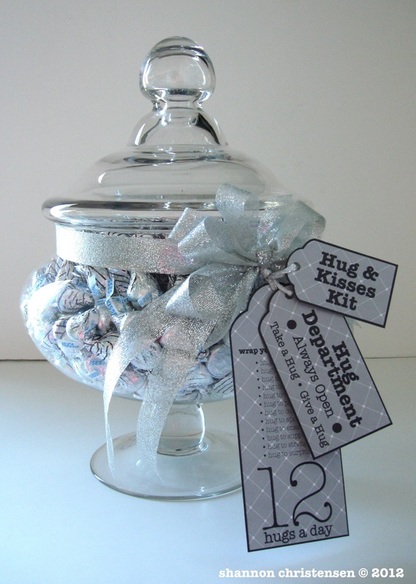
Family Fitness in 36 SecondsOne act. Three seconds. Twelve times. Equals 36 seconds a day. What’s the magic moment? A hug. According to family therapist Virginia Satir, “The recommended daily requirement for hugs is: 4 per day for survival, 8 per day for maintenance, and 12 per day for growth.” A family’s emotional fitness can be aided by a mere 36 seconds a day. But, the real trick, says neuroeconomist Paul J. Zak, is that the hug has to be associated with a “signal of trust”. Having some sign of confidence in the relationship, or potential connection, accompanied with the hug insures moods more at peace, security increased, and stress released. Efforts can be made to remind us, and family members, of the 36-second hug habit. To strengthen the attachment process and hug therapy in your home I made 2 versions of the Hugs & Kisses Kit. (I threw in the kisses for good measure.) The idea is that the kit has chocolate candies and every time one is taken out, then a hug has to be given to someone as ‘payment’. The kit really isn’t necessary, just a fun reminder to get your family counting and keeping track of heart healthy hugs. Here are a few other times to wrap your head (and arms) around. • hug in morning • hug at night • hug to greet • hug to congratulate • hug to warm • hug to protect • hug to connect • hug to apologize • hug to energize • hug to support • hug to strengthen • hug to surprise Thirty six seconds to increase family fitness of heart and mind. Do you have the time today? Get the DIY downloadable here @ Idaho Women's Journal for $2.
There's a crafty version and a quick version. I had the quick version of the Hugs & Kisses glass jar out during a party and there were hugs everywhere. Try it out in your home and let me know how you like it.
5 Comments
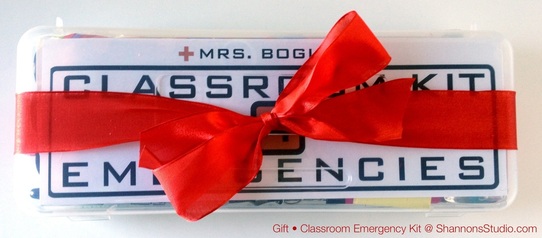
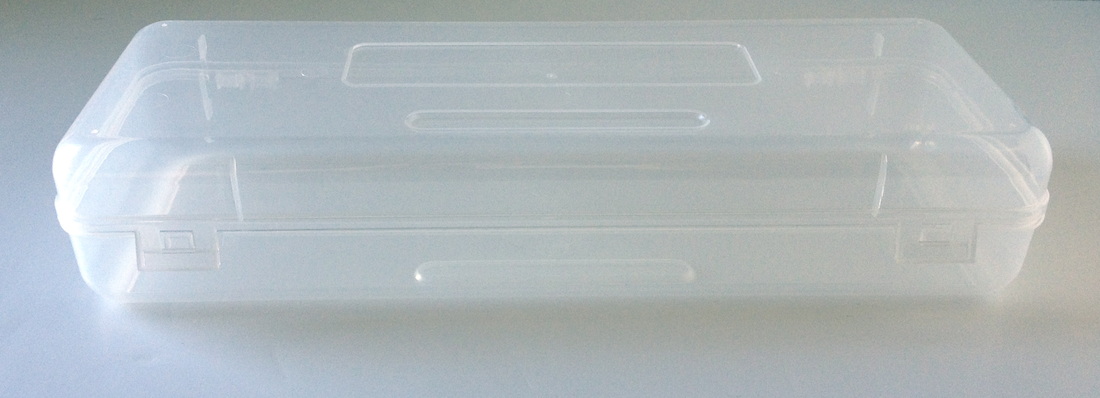
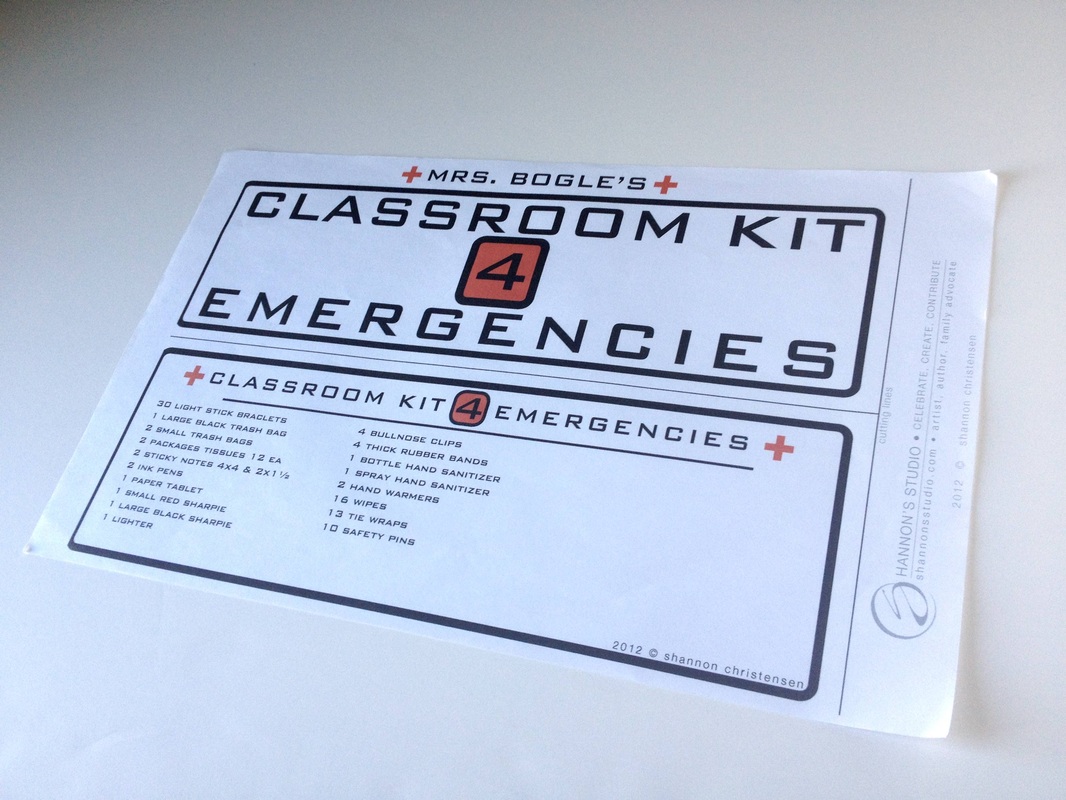
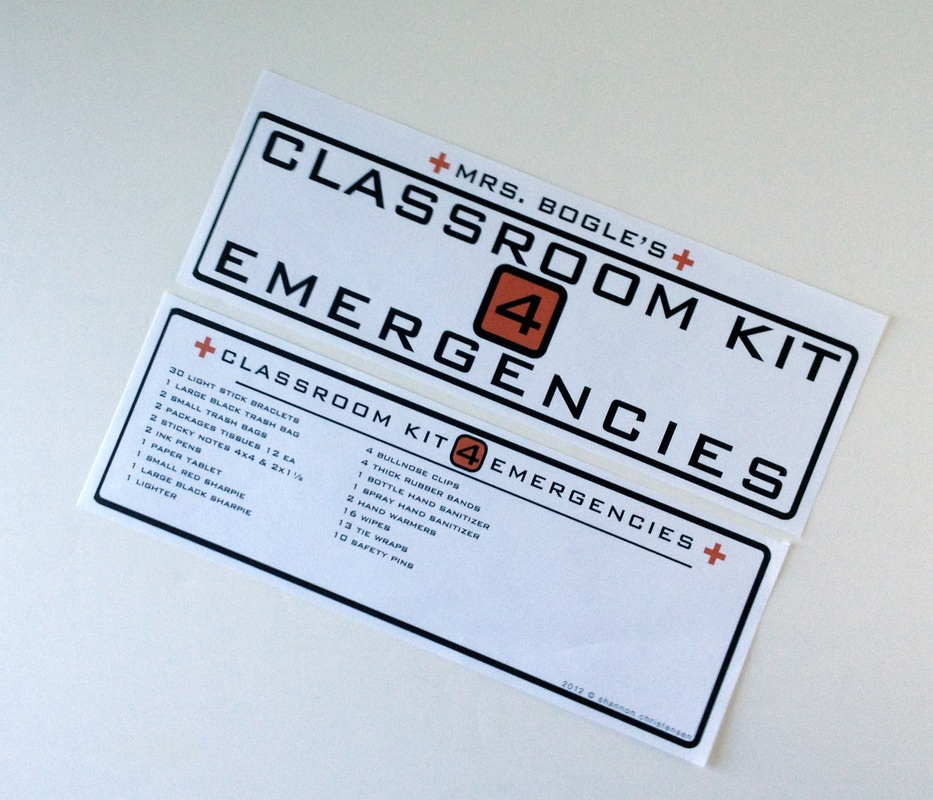
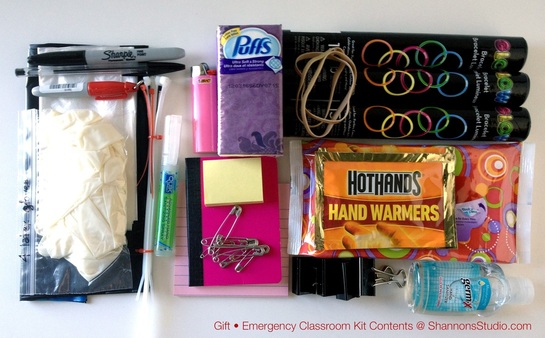
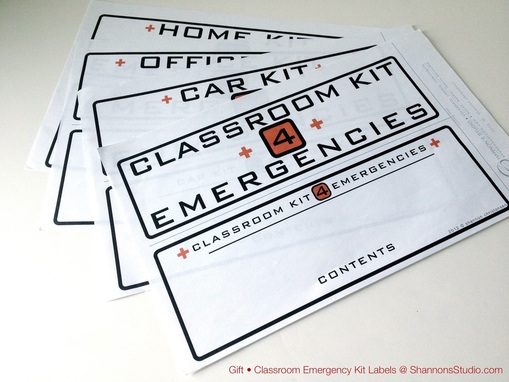
It was the end of another school year. Except this one was different for me because I've been part-time teaching all year. The woman I worked with has been wonderful in sharing her art room and showing me how things go. I wanted to give her a going away gift and thought about the times that we have had emergency drills. (We live in Tornado Alley) I came up with this bitesized classroom emergency kit. It's not a comprehensive kit, more of a make the kids feel good while they're in emergency positions kit. So I filled it with a few things, designed and printed an insert label, and tied a bow. One box, one label, one shopping trip, one gift. Easy peasy. I've included the steps and downloads for you if you'd like to give this gift a go. (It doesn't have to be just for a classroom, you could use it for an office or some other place.) Start off with a clear pencil box, the long ones found in WalMarts & Targets. (It's about 13" long) Then download the label and print on a legal size paper. (I've left the name off and your content area blank on the templates.) I use a paper cutter to cut the printed label. Fill the kit. Here are the contents for this classroom emergency kit. (But add whatever you'd like.) 30 light stick bracelets • 1 large black trash bag • 2 small trash bags • 2 packages of tissues • 2 sticky note pads • 2 ink pens • 1 paper tablet • 1 small red sharpie • 1 large black sharpie • 1 lighter • 4 bullnose clips • 4 thick rubber bands • 1 bottle hand sanitizer • 1 spray hand sanitizer • 2 hand warmers • 16 wipes • 13 tie wraps • 10 safety pins - You could fill it with anything really
Here are the downloads below, in several versions for legal size paper (8.5" x 11").
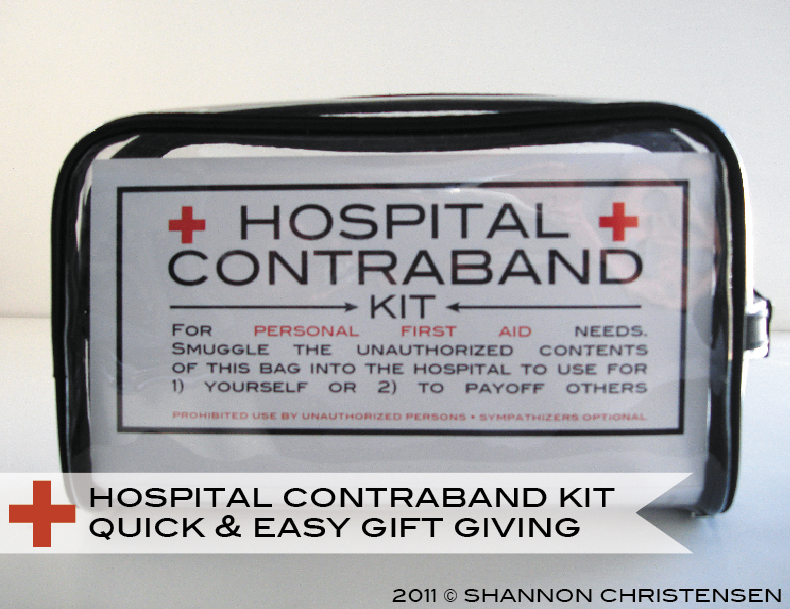
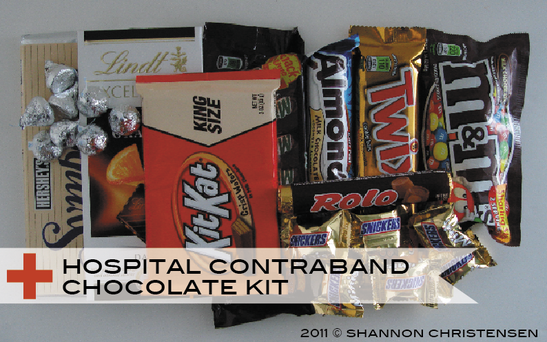
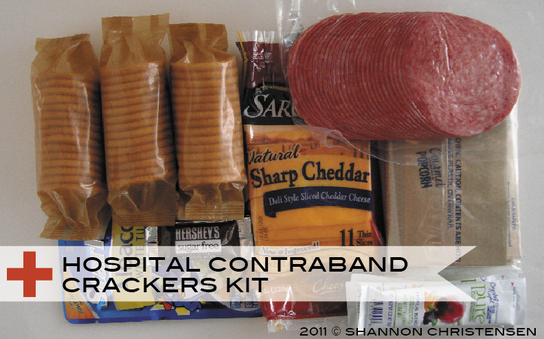
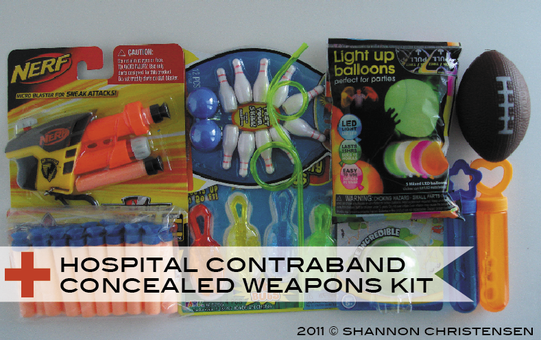
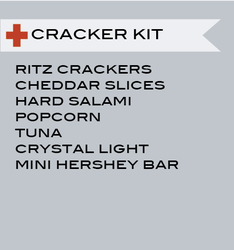
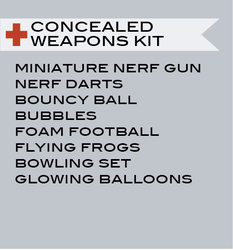
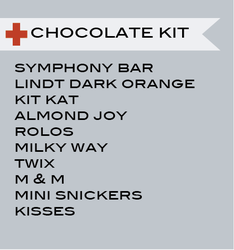
When my daughter Alisha was almost due with her baby, I was invited to the baby shower given by her school co-workers. We had planned a family/friend shower and I already had a gift in mind for baby Caeden to give then. So, for this shower I wanted to give a gift that would be fun for her. But, of course I waited until the day of - nothing like a little self-imposed pressure to get the creativity going. Trying to think of something, I mentally went back to my baby hospital stays and remembered that after deliveries I was always starving. My friends would then smuggle in a burger or pizza – contraband. Then I thought, “What if you planned for the contraband before going into the hospital?” As a result, I came up with the idea of a Hospital Contraband Kit. The Hospital Contraband Kit is a clear make-up bag with a printed label inserted inside that is then filled with personally tailored contents. For my daughter, I chose chocolate contraband and she loved it! Shortly after that, another friend’s daughter had her baby. It was Christmas Eve afternoon and I didn’t want to fight any crowds at the stores. I remembered that I had an extra make-up bag and quickly printed the label then headed out the door. On my way, I stopped at a convenience store (more expensive but worth it to miss the Christmas chaos) to pick up the contraband. It was a pretty effortless gift and she thought it was great. Here are the fast and easy steps for you to put together your own kit. Print. Fold. Fill. #1 Print the free download #2 Fold on the printed lines #3 Fill with 1 of 3 options You don't really need to get sick to have or make one. Here are the different things you can put inside. To Do - • Print - PDF Download on 8.5 x 11 white cardstock • Fold - printout on light grey lines • Buy - clear make-up bag approx $6 (Modella Brand WalMart) • Buy - contents, your choice • Fill - and give
So, what would you put in a Hospital Contraband Kit?
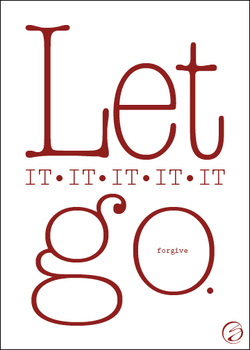
We quote this in our family. I believe it comes from a clip in the animated Robin Hood - "For heaven's sake, just let it go." I probably have it all wrong, the movie and the exact quote, but I'm sure one of my 'toons' will correct me. I do know that we say this often and it's a truth.
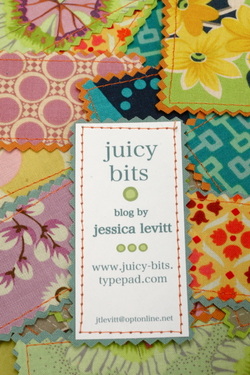
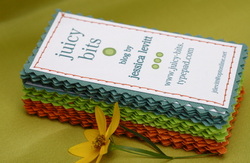
All Frame Art HereLove this charming, clever idea for business cards from Juicy Bits. Jessica (of Juicy) says, "I'm weirdly proud of them and simultaneously a little embarrassed by them.It's sort of like shouting out to the world "please read my diary!" Um, does anyone care?" I wouldn't be one bit embarrassed shouting with these business cards that "I'm a Creative" and look at what I do. Any other creative biz cards out there?
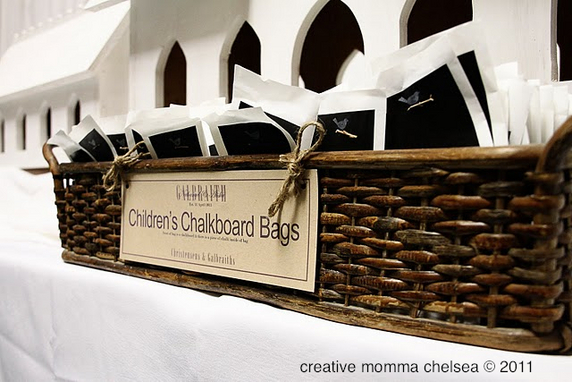
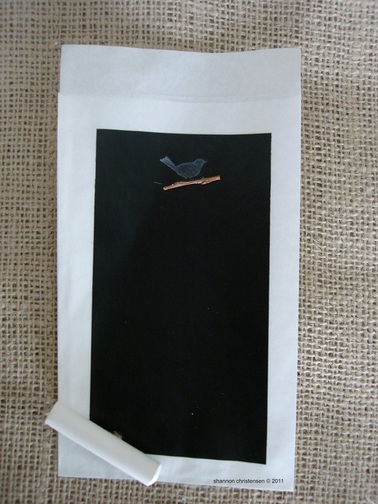
DIY Wedding Favors • Children's Chalkboard Bags • In our planning the Groom mentioned that he had 35 nieces and nephews. 35! And most of them live locally and would be attending the wedding. So, we made sure we thought of them and did a couple of things. This was one of them and it's a totally easy project. Supplies:
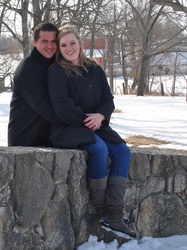
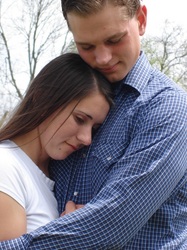
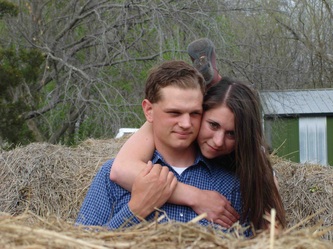
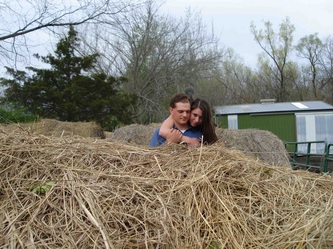
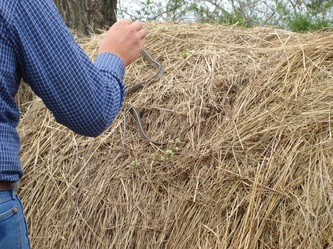
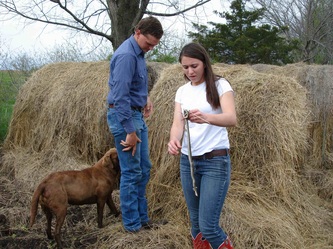
100 Wilton white favor bags (6" x 3.75") - approx $5 Adhesive backed chalkboard paper, 1 roll (like Contact® paper) - approx $8 Chalk (broken in half) - $.01 box of 12 found online somewhere How to: 1) I cut the chalkboard adhesive back paper with a paper cutter. Peeled and placed it. 2) Stamped bird with white ink. We had to dap with a tissue to dry it out. 3) Hot glued a tiny branch found from the yard. 4) Placed chalk piece inside. They could also use it to put treats in. Glad we did it. Put these votives in the birdhouse windows on the wedding favor table. Here's the how-to - Supplies: Basic Elements 16 unfilled Votive holders found @ Michael's - approx $10 18 battery operated "candles" @ WalMart - approx $15 A few sheets of velum printed on my ink jet printer - approx $2 How-to Type quotes in a document Print on velum, one sheet at a time Cut, trim to size of votives Help me add to my list - What is another wedding quote or word?Today was round 3 of the engagement photos I've taken for my children. I'm not a photographer but I'm artsy and a DIY-er and I'm pretty cheap, like, free for them. So it works. Plus they get to tell me what they want. Sometimes they get it. Here's a photo of each couple. Here's the tip I want to contribute in photographing out of doors - watch for snakes. Unless of course you like them. Which I don't . Especially those inches from me. Luckily we had enough photos because that killed my creativity. In the last photo, it shows a moment in which my daughter is mine in name only. I have never picked up a snake in my life. Never intend to. I do the screaming and jumping away. That's my job. Oh, and cropping, color correcting and coming up with engagement photos.
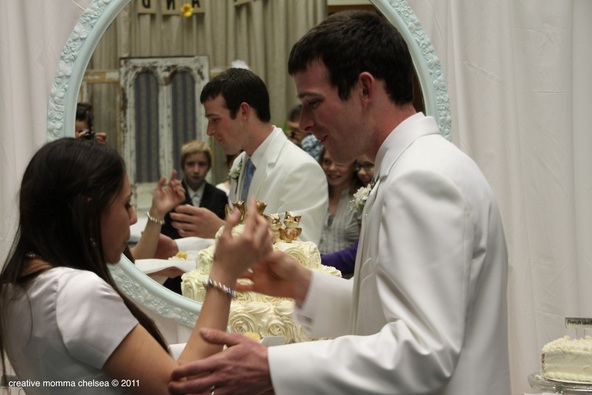
Here's a little DIY wedding idea... At many weddings not everyone can see what the couple are doing when they cut the cake. So I thought of the idea to put the mirror behind the cake to improve the view of the couple for the guests. Look past the couple you see the mirror** to the less obvious. I didn't realize, until looking at the photos, that you would be able see what the guests are doing. I love the looks on those kids faces - utter confusion and delight. And you can also see a little of the photographer. I like it. You might like to do something similar sometime and catch all the action going on.
**The mirror I picked up at a local Cameron antique shop for Christmas, for the daughter above. It was a great deal at $35. She painted the frame white, then used a robin's egg blue wash over it. It turned out beautiful. |
Archives
August 2012
Categories
All
|
||||||||||||||||||||||||||||||||||||||||||||


 RSS Feed