|
Going out for an Art weekend? I've gathered some outfits (over at Polyvore) that can take you through your art fest in style. And comfort. I chose 3 Art Weekender destinations that have wonderful, WONDERFUL, art scenes. You really should try being an Art Weekender. 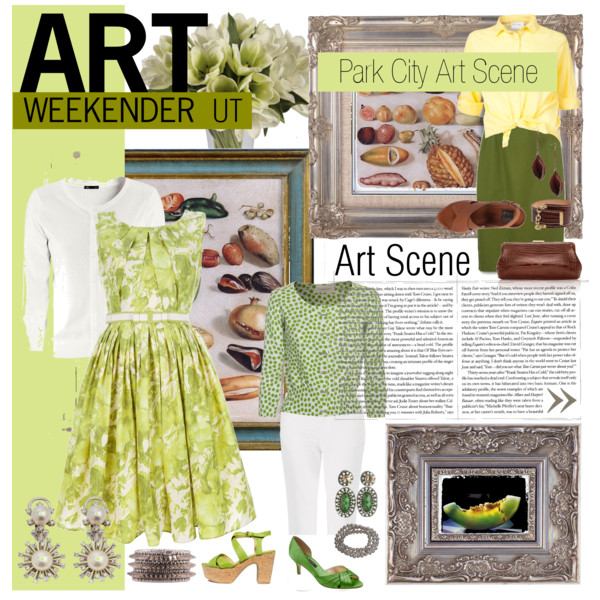 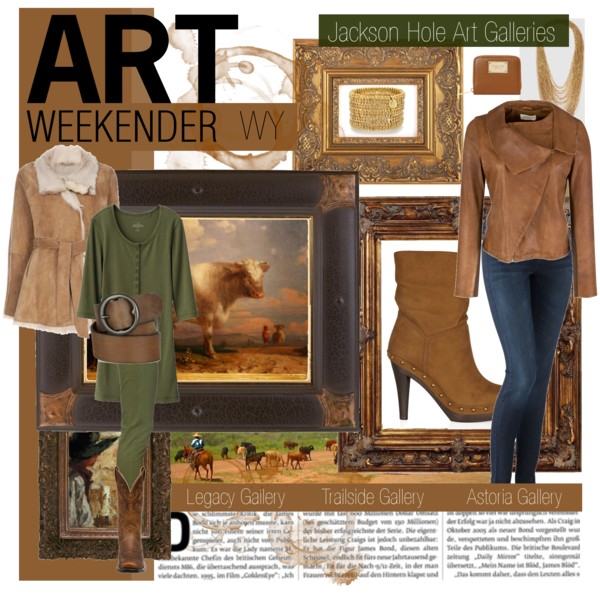 So many Galleries to see. Try the Legacy Gallery. 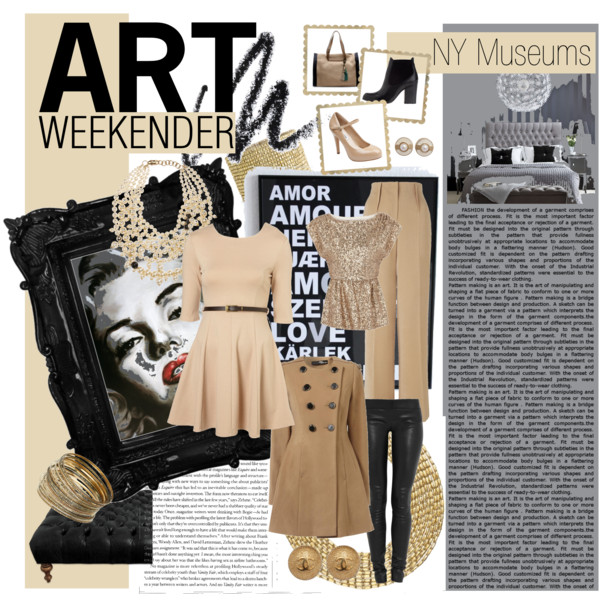 Spend some time in New York. Try the smaller Frick Museum. Tell me what art scene I should dress for next.
0 Comments
This weekend was about getting your BOOK • BOX • BELONGINGS. (If not, read this post.) Since this is the first day, I'll let you know how we'll proceed. You won't have to go this alone. Every Monday will be Q & A, as in QUESTIONS & APPLICATIONS Monday. Questions for introspection and application ideas to help with image making. There will also be a word, phrase, or quote meant to inspire the whole thought process. Use any or all of the ideas. INSPIRATION:a single focus word (or maybe a phrase) INTROSPECTION:questions to explore your thoughts and life IMAGE MAKING: applications to experiment with There's a few ways to go about this. 1) Do the images first and think about the inspiration word. Then record your most important thoughts around or on top of the images. 2) Or, write your thoughts and let images come to your mind and recreate you mental images after you've recorded your ideas. 3) Or, a combination of back and forth with words and images. Images and words.Anyway works.One last thought. Don't stress yourself over the image making. This might be the most uncomfortable process. If at first you're nervous, look at other's art journals for inspiration. Mimic their layout. Use their color palette. Incorporate their use of text. It will get easier and you'll become more uniquely expressive as time goes on. Don't worry. Start somewhere. Just begin. OUR FIRST ENTRY INSPIRATION: MY NAME INTROSPECTION: Q. Who inspired my name most? Q. What other name were my parents considering? Q. Have I always liked my name? Q. Does my name have any significant meaning? Q. Do I have any memories related to my name? IMAGE MAKING: A. Create a background of markers and ink stamp your name over the top A. Put the title "Celebrate Me" along with your name and text A. Take a photo of yourself, glue it into your book & repeatedly write your name over the top of it A. Do an ink character self portrait and use watercolors or pastels to add color & add your name A. Print name in a font you love, put your page over the top of it, use a light table and trace For the next few weeks, I'll add other people's images to get your image making going. This will hopefully give you ideas and ease you into making your own images. REMEMBER, this is about you, for you, to celebrate you. 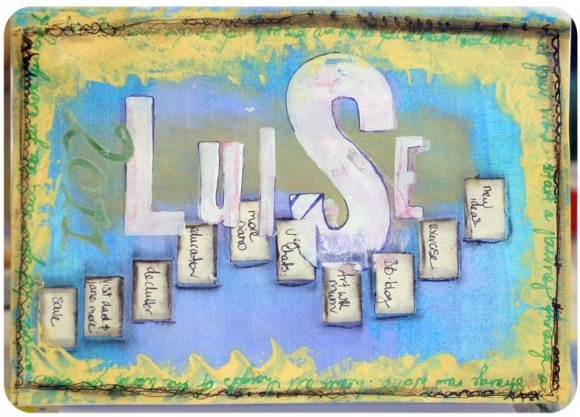      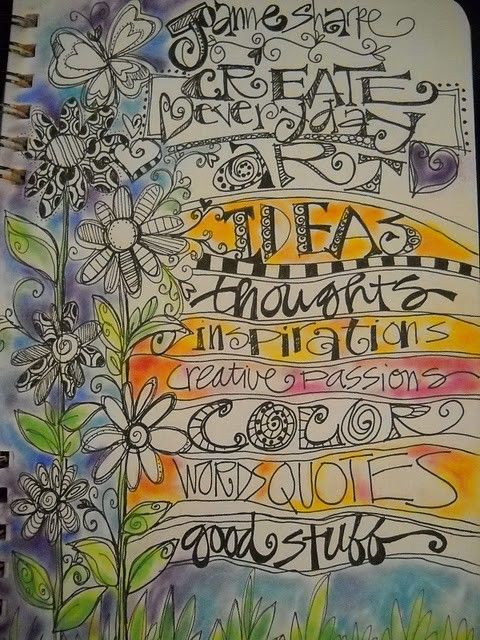 Ohhhhhhhh! I almost forgot.
On Friday morning, everyone can upload a photo of their celebrate me • art journal page on Shannon's Studio Facebook page. You can't not share with us. It's not a critique of your expressions, it's a celebration of each of us. Let go. Do it. Friday. Let the Celebrate Me Art Journaling Journey begin!
Art Journal Short Definition: introspection and images in a book Art Journal Long Definition:a personal point of view which can includewishes, wonders, wisdom, workings, warnings, war-ings, and worthwhile times,recorded in the form of doodles, drawings, designs or dressed up words and imagesall bound in a bookSo, those are the definitions that I've come up with. That way we are thinking the same things when we're talking. There are tons of art journaling sites on the net. A lot of them are just about image making. Which is nice. But, I happen to think pictures and text are a powerful combination. Then, when you add a person's life into the mix, it becomes extraordinary. It's the personal point of view that is the intriguing part, seeing the person and what they're about. Journaling is something we usually do as kids. I have several diaries from back then. I've always thought is was important to keep a record of life but life got busy and my entries sporadic. I've missed some memories that are important to me. We can't be all things, to all people, all the time. So, I'm not going to beat myself up about missing some of the past. But, that doesn't mean I can't record some of the present or thoughts on things now. Our art journaling will focus on finding out more about you (say, "me".) It's about celebrating. Celebrating your (say, "my") life - past, present and future. It's record-keeping with images. And you don't have to be an artist to do it but if you're worried, I'll share ideas to bring out your creative side. Because it's a little intimidating here's what you'll need to get started. 1) GET YOURSELF A BOOK It can be anything. If you are going to be using wet medium (watercolor, acrylic, glue, etc.) then you'll want a book with thicker pages. A craft store will have a good selection with the cost being from $5 - $15. I'd go ahead and invest so that you can experiment and not worry. 2) GET YOURSELF A BOX Not everyone has the space to have a studio, but you don't need one. Just get a box so that you can put all of your stuff in one place. It's ready when you're ready. 3) GET YOUR BELONGINGS Gather up all your art belongings into the box.Markers, pens, colored pencils, watercolors, white out, glue, small blow dryer, tape, ruler -things like that. BOOK • BOX • BELONGINGS BAM!! YOUR READY TO ROLL Get the stuff this weekend. This weekend. Then we'll get started. Monday. Every Monday. I started a Facebook Page just for Art Journaling and sharing pages. Like it here. 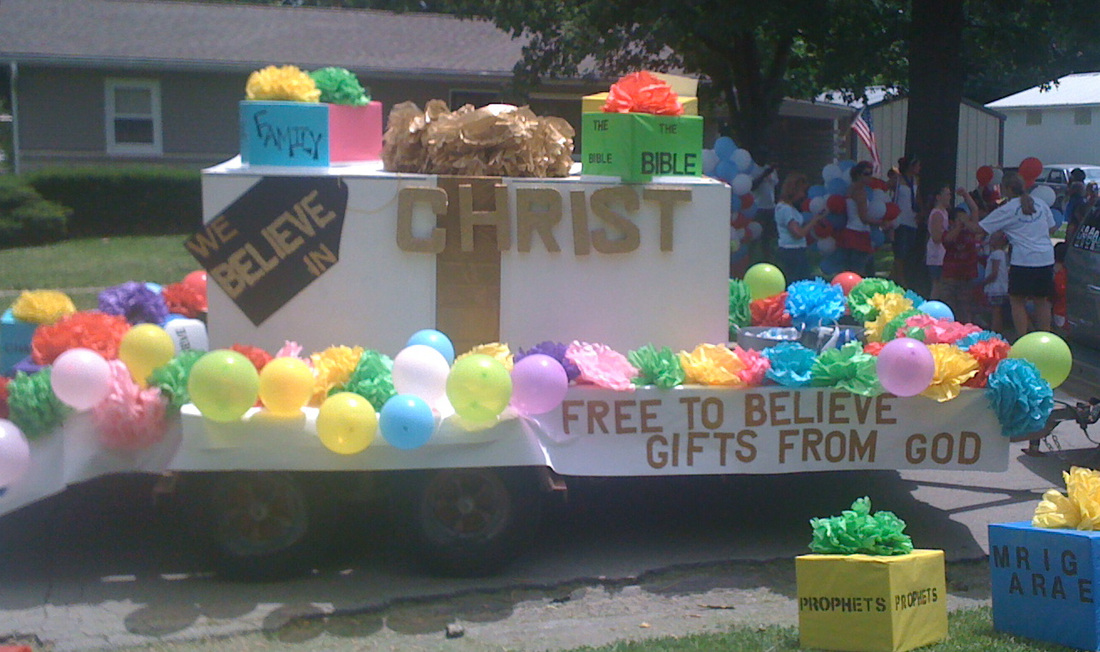 Parade Float • Cameron July 4th Parade • 2011 Parade Float conception and construction is not usually what people do in their spare time. Welcome to the unusual life. Here's a float our youth group did for the parade this summer. We had about a month to do it from start to finish. I think the longest part was trying to come up with something that 1) had a message, 2) that many people could be involved with and work on, and 3) that stay within a very small budget. It took us about 10 - 12 hours of group construction. And a few more from me. Our Construction Team did a great job! The young women are a natural at this sort of thing but the young men even got their creative sides to show up and did a lot of things they don't normally do. And everyone was laughing, smiling, and having fun with one another. Bonus! I've kept my mad-float-building skills to myself and didn't volunteer for this project. Things just seem to find me. Like the float another group I was a part of did 12 years ago. It was a bit bigger with more people involved. But, I learned a lot constructing... guts for all the animals - saws, screw guns, wood, chicken wire, pulleys and paper mache on a LARGE scale. Also, there was animation - giraffe's swiveled, jaws opened up, and elephants sprayed water on the crowd. It was a great learning experience for me. Things tend to run in my family and here's my sister's float experience. 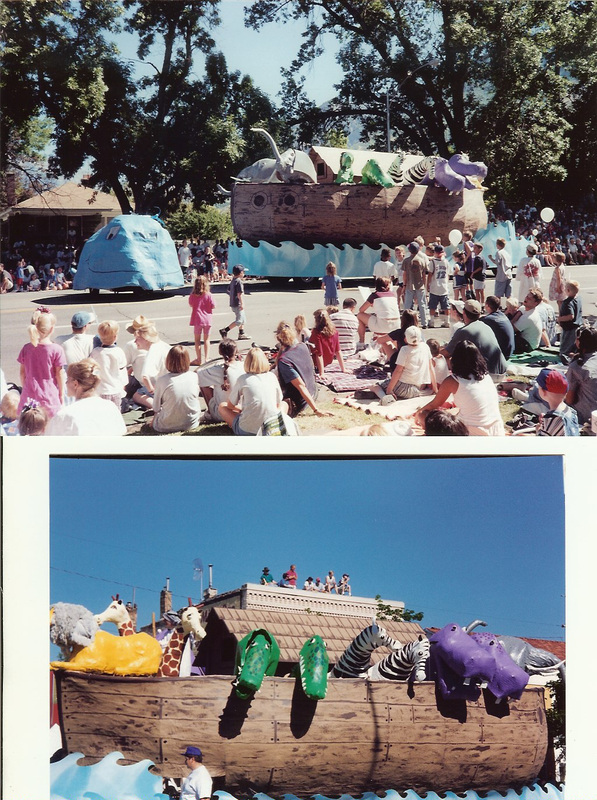 Parade Float • Provo Freedom Festival • July 1999 • Grand Marshall Award I noticed that a lot of sites that talk about DIY float building have never built a float. I hate that. Not because they haven't built one (they could have done a lot of good research talking to people who have made one) but because their info doesn't really answer the questions of people who are doing it themselves and usually aren't "creative". So, here are a 5 quick tips to things that usually come up in the beginning of any parade float madness. Here's 5 Quick Tips to DIY Parade Float Building1) Have a ThemeThis helps immensely in decision making. If you know what you want to put across, that helps in the how to put it across. Having a theme will automatically make some decisions for you. 2) Know your BudgetDIY floats can be from a few hundred dollars (the Free to Believe float) to a couple of thousand dollars (the Ark and Sister's float). Knowing how much you can or can't spend helps you get creative with materials. 3) Appoint a HeadSomeone's got to be the bottom line. There has to be a coordinated effort for the group. When things don't go according to plan, and that will happen, then someone has to be able to make a decision about what to do next. 4) Combine a TeamEven though this is a DIY project, it's still a good idea to have teams doing specific tasks to spread the workload. Get a 1) Trailer Team, 2) Creative Design Team, 3) Construction Team, and 4) Outreach Team. Because this isn't a project that comes along very often, involve as many people as possible. 5) Enjoy the ExperienceIt's hard when you haven't done something before and don't know how it's going to turn out or even if it's going to turn out, but try to remember to have fun along the way. By nature, parade floats are about fun and celebration. It should be that way through the whole process. Here are a few links of DIY types. They don't really have a tons of info but it might get the ball rolling for you. • Here's a DIY for the "guts" (trailer construction) of a float • This link describes the standard materials (tends to be expensive) and lots of other parade float info. • Another true DIY parade float builder with tools they used • UPDATE 2/25/12 Another link with a few tips by Bethenny Watters, eHow Contributer Add more links below from others. I've already been given the assignment for next year.
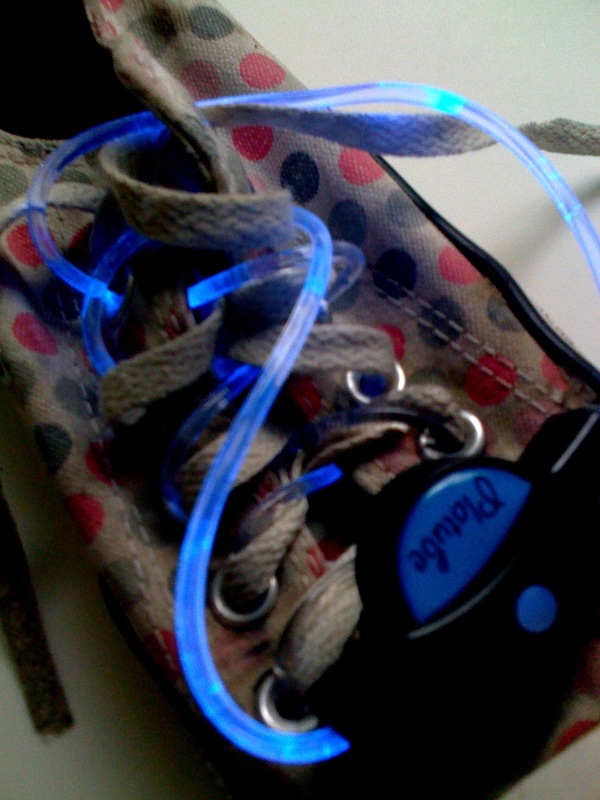
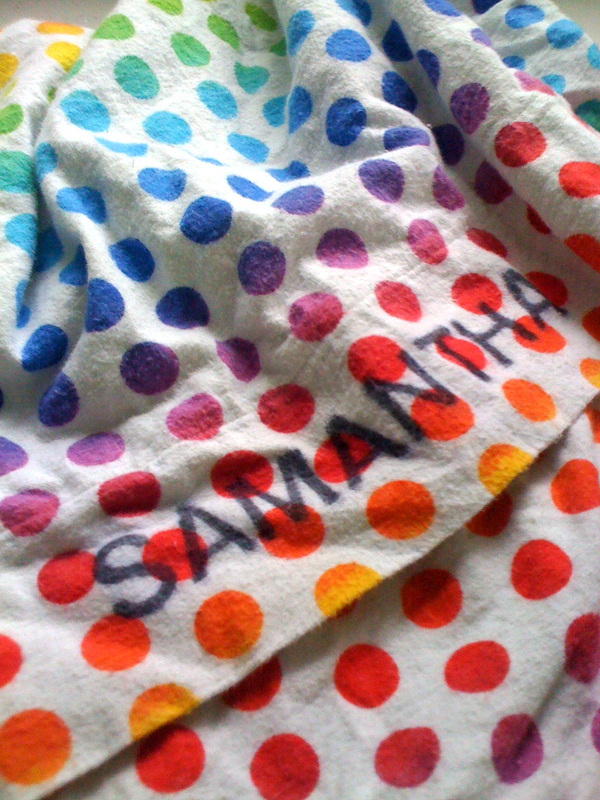
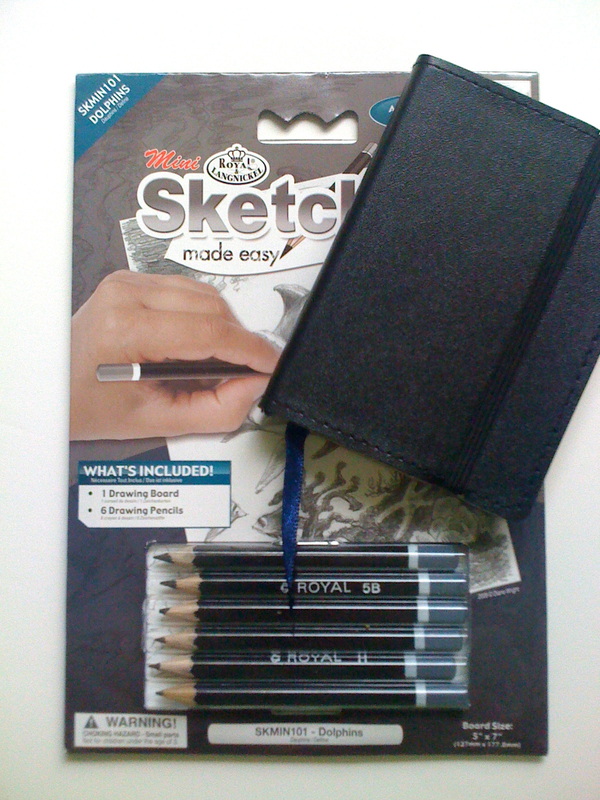
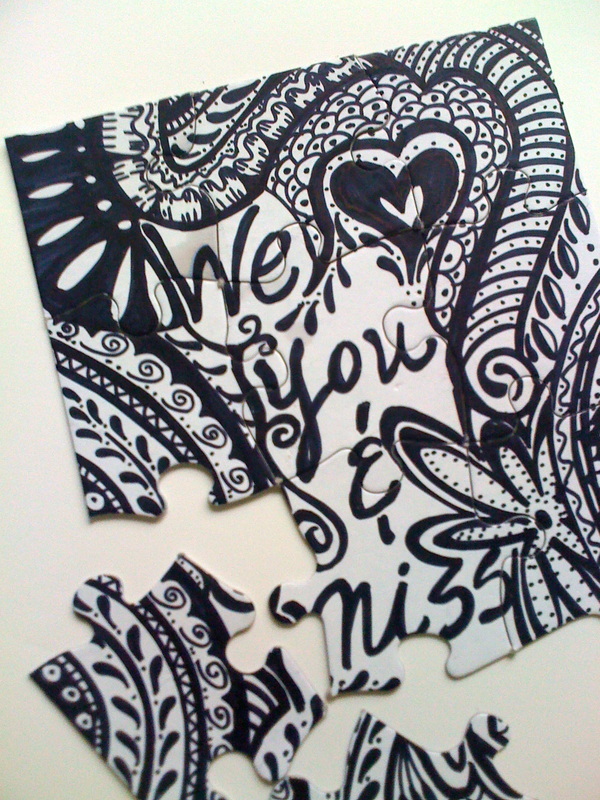
Every summer season means summer camps for our kids. It's a rite of passage, a growing up experience. And it can mean being homesick. Especially your first time away. So, I have a little tradition that I do for the kids their first time away for an extended youth camp. The night before they leave I sneak several packages, one for everyday they're gone, and hide them inside their clothing. You'd think that this reminder from mom might make them more homesick, make them think of home, but it doesn't. And the contents aren't really the big deal. it's the magical feeling of surprise. And being excited and looking forward to something. And knowing someone loves and misses you. My second to the youngest had her first week long camping trip and I put her envelopes inside her pack. I decorated the envelopes with the day she could open them. There is a downside - one of her friends told me that my daughter was so excited that she stayed awake until 12:01am so that she could open one of the packages. I laughed. I'd rather hear a camp story like that, than some of the other's I've heard before. She had a great week. I'll keep up with the tradition, one more to go. 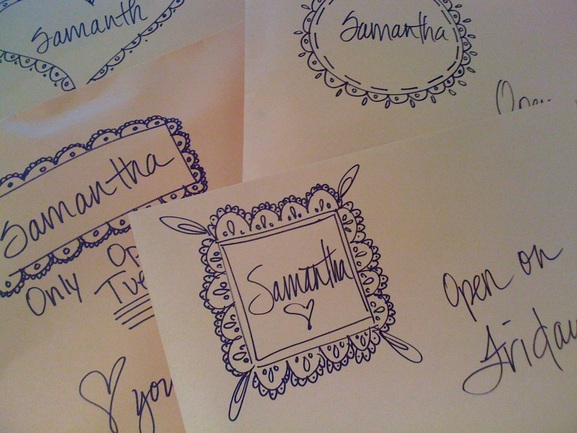 Here's a list of what I put in this time - • Light-up shoelaces, found them from Gabrielle Blair's post and love them $6-ish • A flannel pillowcase that I sewed and stenciled her name, I sewed the pillowcase $4-ish + time • A small sketch book and miniature pencils, from Hobby Lobby for less than $5 • A "miss you" puzzle, you might notice the similarities here and here $1 + time What things might you put in? Add to my ideas for the next time.
|
Archives
August 2012
Categories
All
|
 RSS Feed