|
Going out for an Art weekend? I've gathered some outfits (over at Polyvore) that can take you through your art fest in style. And comfort. I chose 3 Art Weekender destinations that have wonderful, WONDERFUL, art scenes. You really should try being an Art Weekender. 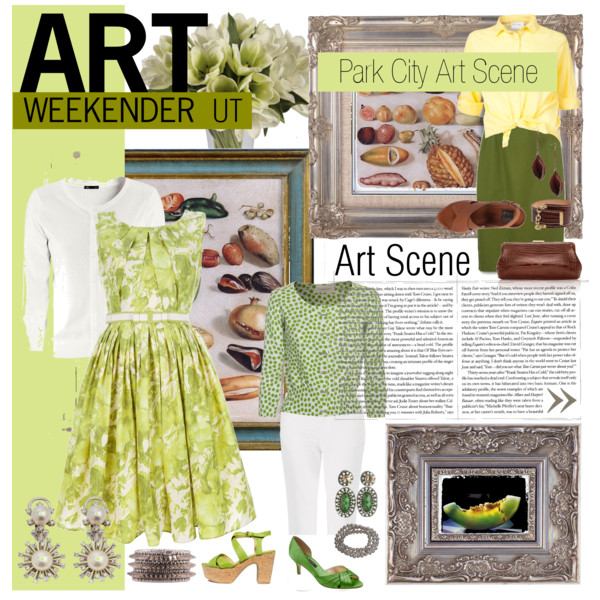 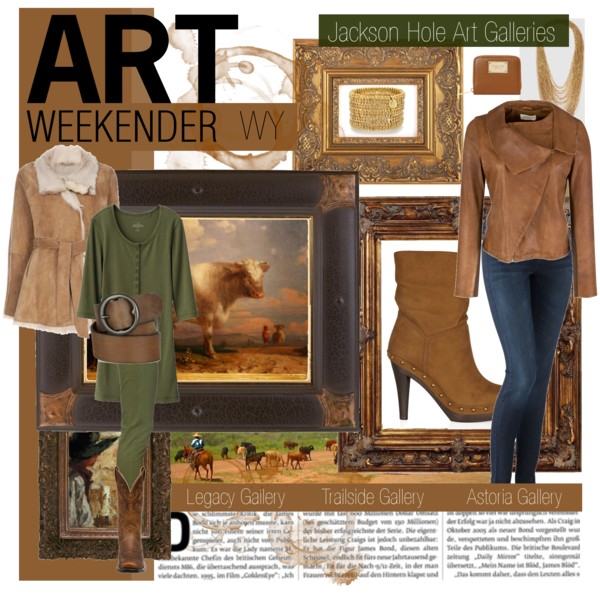 So many Galleries to see. Try the Legacy Gallery. 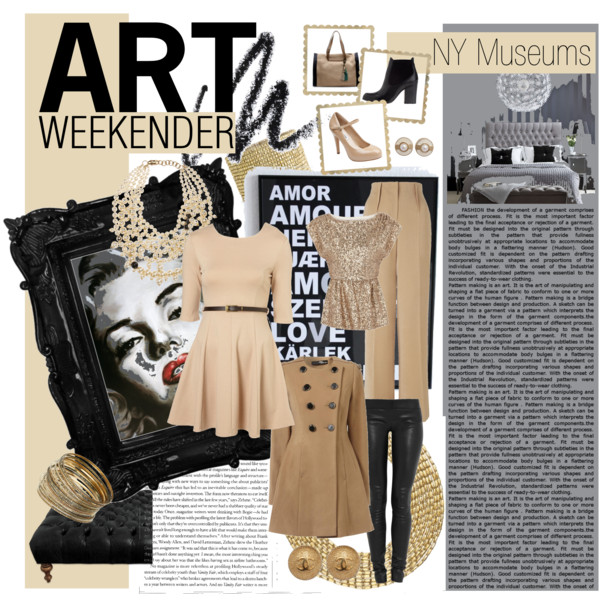 Spend some time in New York. Try the smaller Frick Museum. Tell me what art scene I should dress for next.
0 Comments
Happy New Year! Hope all of your celebrations were enjoyable. Mine was and here's a little of it. 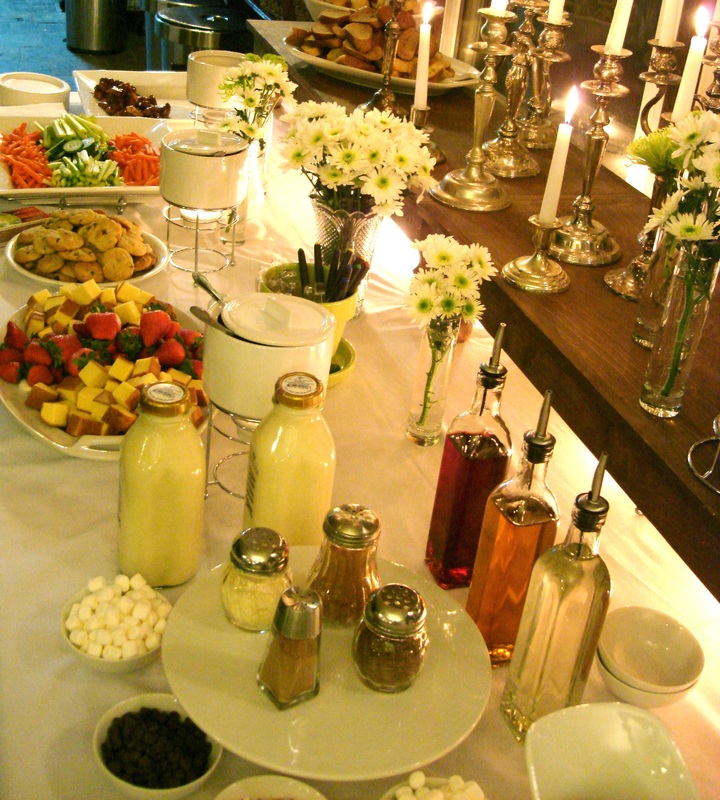
We did a little fondue - chocolate and cheese. Chocolate fondue with pound cake, cookies, strawberries and cheese fondue with bread, vegetables, and meats. It was very good. But, my favorite- 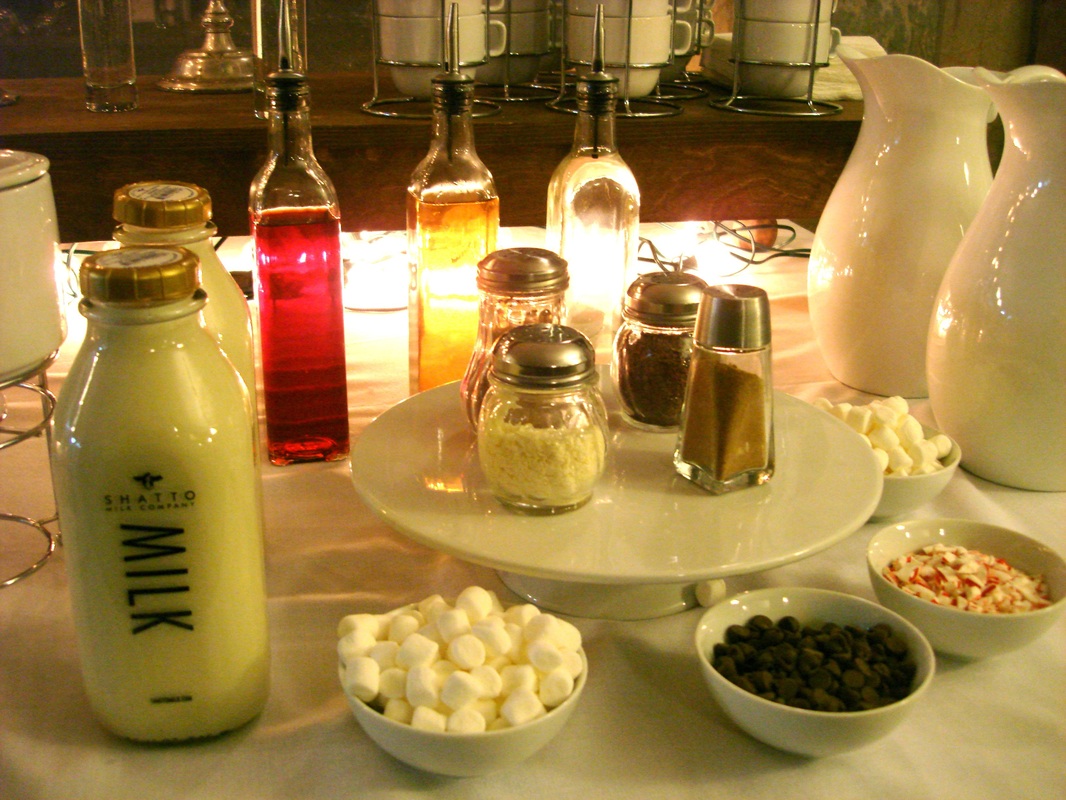
Hot chocolate milk bar. White and Milk chocolates with all the add ons - shaved chocolates, cocoa powder, cinnamon pumpkin spice. Then, raspberry, caramel, and peppermint syrups. With the last additions of marshmallows, peppermint and chocolate chips. Oh, and there was eggnog as well. If you need any ideas, this is the type bar to do again. 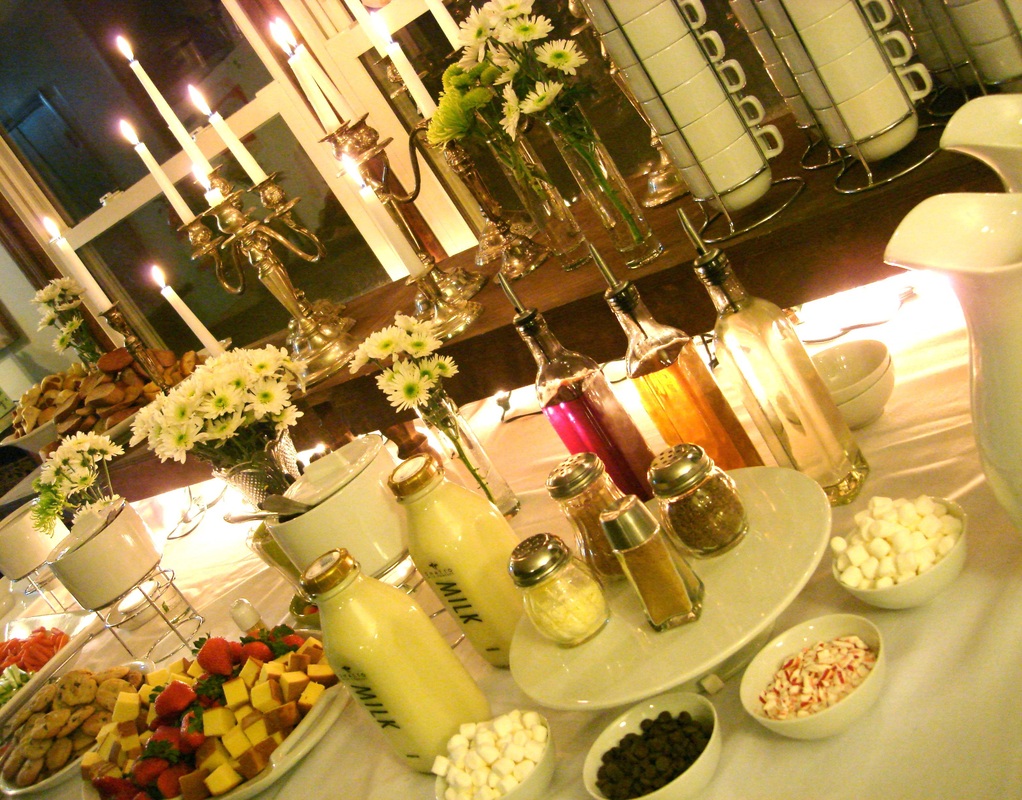
If you're curious - all the milk and cheese was from Shatto. The fondue pots were from Pier One Imports. The mugs and cake plate were from World Market. The pitchers were from Target. Candle sticks from second hand stores.
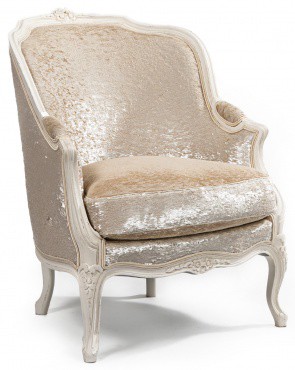
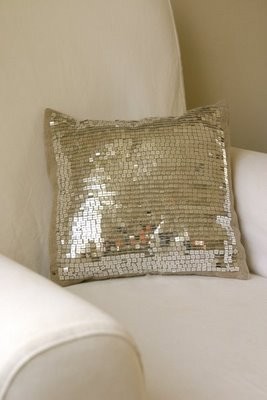
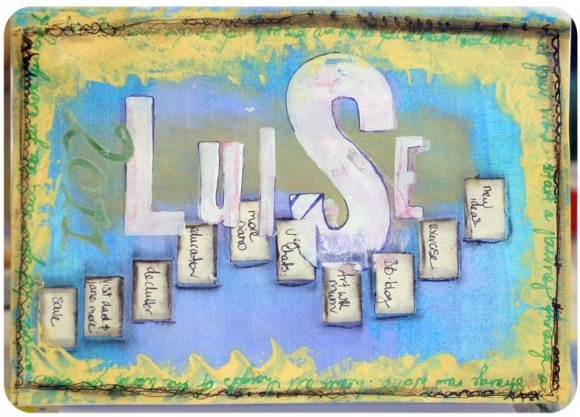
When I lived in Provo I had this corner in my studio. The corner had 2 big 4' x 4' windows, a chair, and a side table. (It's in the painting below, though the chair is really red.) I designed it and the boyfriend built the studio. I loved that corner. I was in it all - the - time being creative. Or just being. My husband called it the Command Post. He called it that because that's where it all began. The center for my operations. My headquarters. And everything went out from there. The figurative center where I command from. Command doesn't sound quite accurate (okay, sometimes it does) but my husband likes to tell me I'm in charge. (Alright, so I am.) But, it's more like direct and instruct. At any rate, it's where I mentally celebrate. 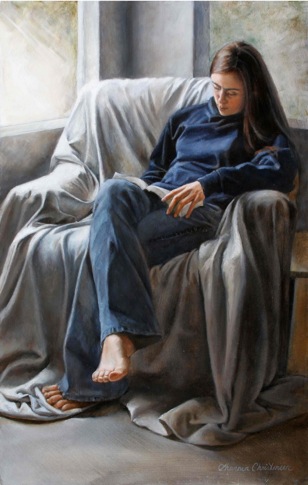 I have this thought. (I know, when don't I have thoughts.) Every woman needs a Command Post. Someplace where she does her thing. Whatever her thing is. My thing is being creative. Doesn't matter what it is I have to be creating. So, for me it's a Creative Command Post. I have the Studio, which I'm so happy to have. But, a Creative Command Post is a smaller space than that. I realize I don't have a real one in our new house but I've used makeshift ones. Like my bed. I will sit on my bed for hours. With all my creative stuff around me. Usually writing, designing, thinking. And sometimes, I use the dining room table. Spread it all out there so I can be near everyone. I don't have one in the studio. I have a desk, couch, and worktable but not a Creative Command Post. Here's the criteria I think should be involved in setting up a Command Post Command Posts |
Archives
August 2012
Categories
All
|


 RSS Feed